
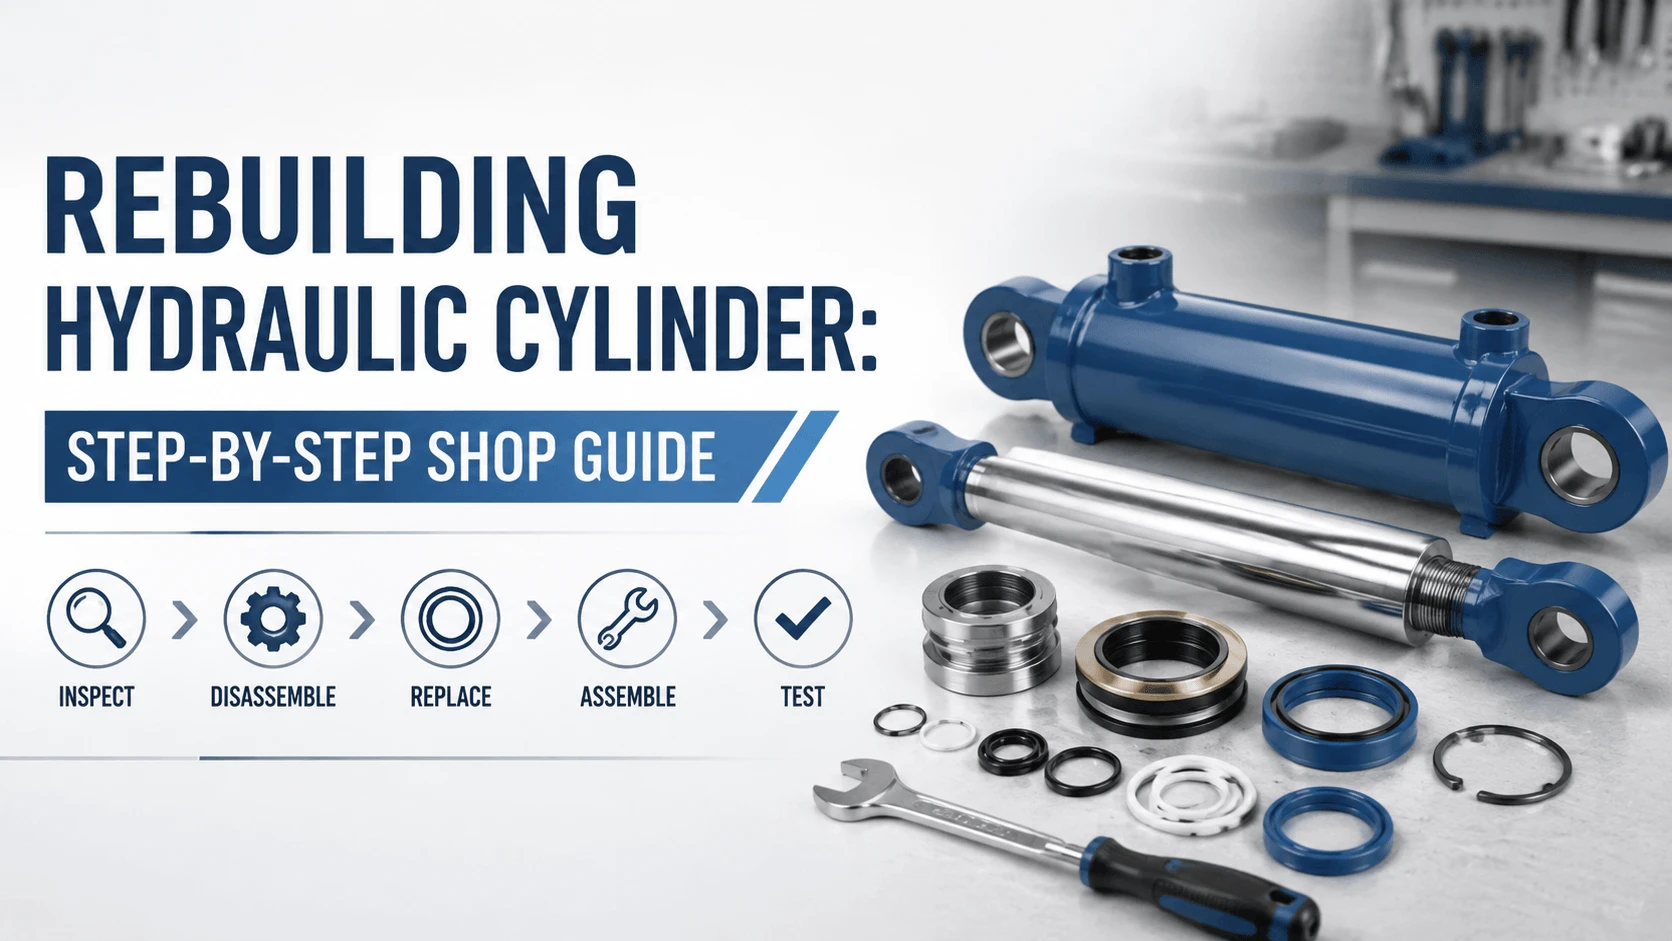
Introduction
Rebuild or Replace: Make the Call First
| Condition | Call |
|---|---|
Barrel scored beyond hone allowance |
Re-tube or replace |
Rod bent past 0.5 mm per meter |
Replace rod or cylinder |
Rod chrome pitted or flaking |
Re-chrome rod, then rebuild |
Cracked rod eye, clevis, or mount |
Replace |
Piston seal grooves worn oversize |
Replace piston, rebuild |
Sound barrel and rod, tired seals |
Rebuild |
Standard bore under five years old |
Rebuild |
Obsolete sizes, no seal kit available |
Replace |
Signs a Cylinder Needs a Rebuild
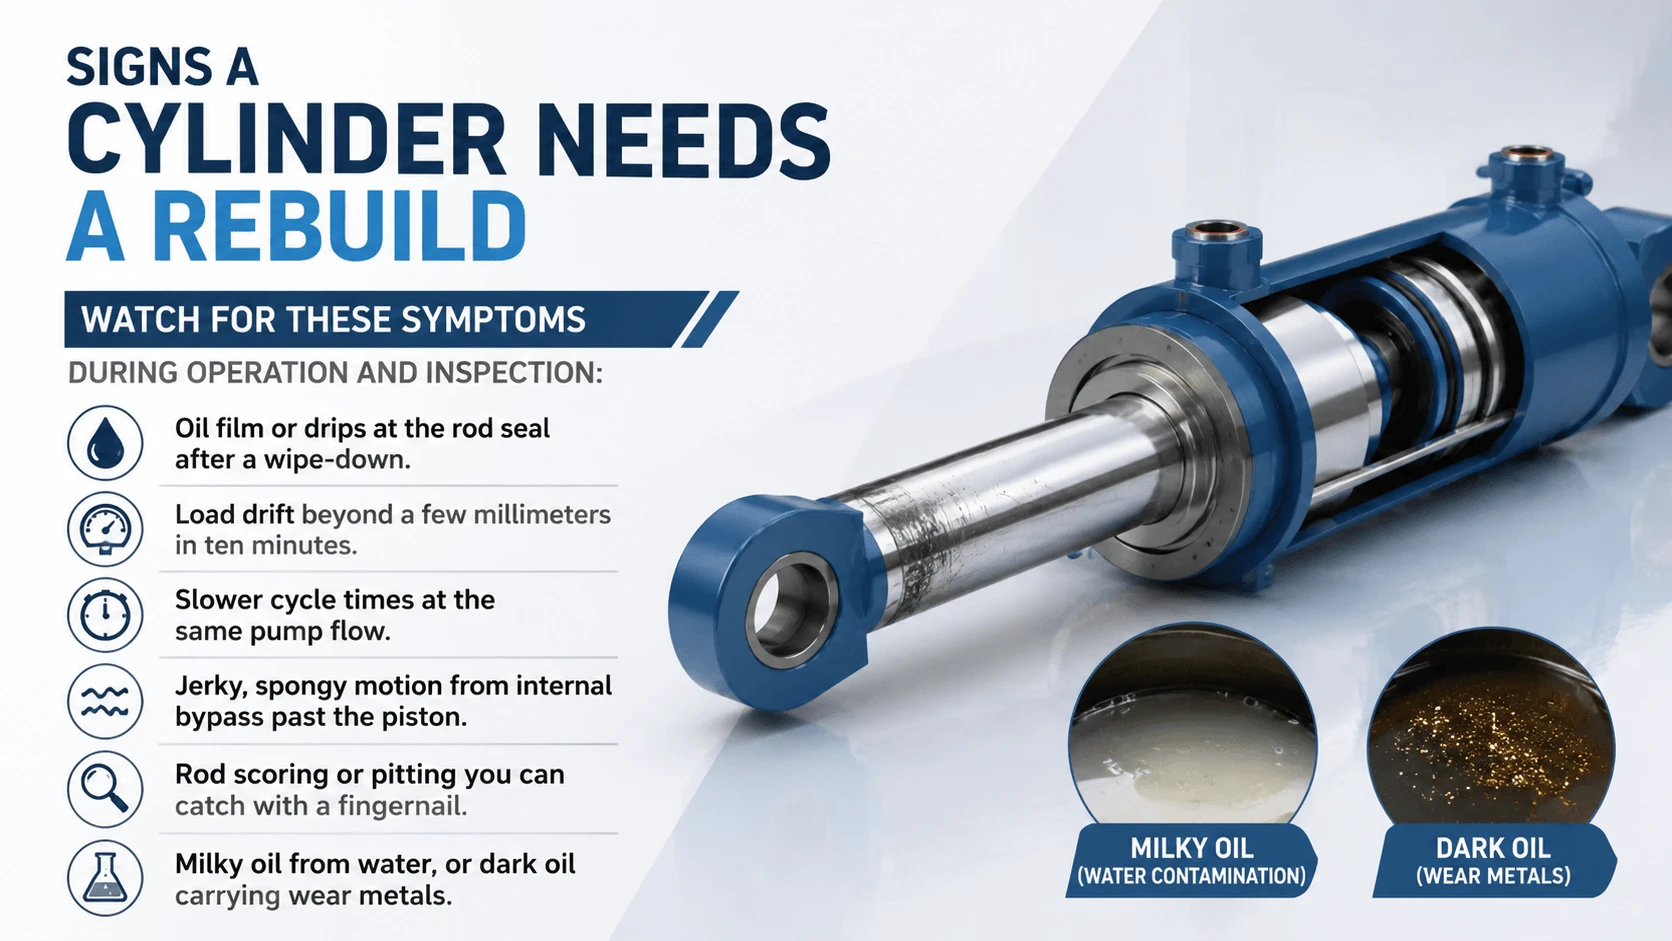
Watch for these symptoms during operation and inspection:
- Oil film or drips at the rod seal after a wipe-down.
- Load drifts beyond a few millimeters in ten minutes.
- Slower cycle times at the same pump flow.
- Jerky, spongy motion from internal bypass past the piston.
- Rod scoring or pitting, you can catch with a fingernail.
- Milky oil from water, or dark oil carrying wear metals.
One symptom points to seals. Two or more points at wear. Check the rest of the circuit before you blame the cylinder alone. A sticking valve or a starving pump can mimic cylinder trouble.
Tools, Seal Kits, and Bench Setup
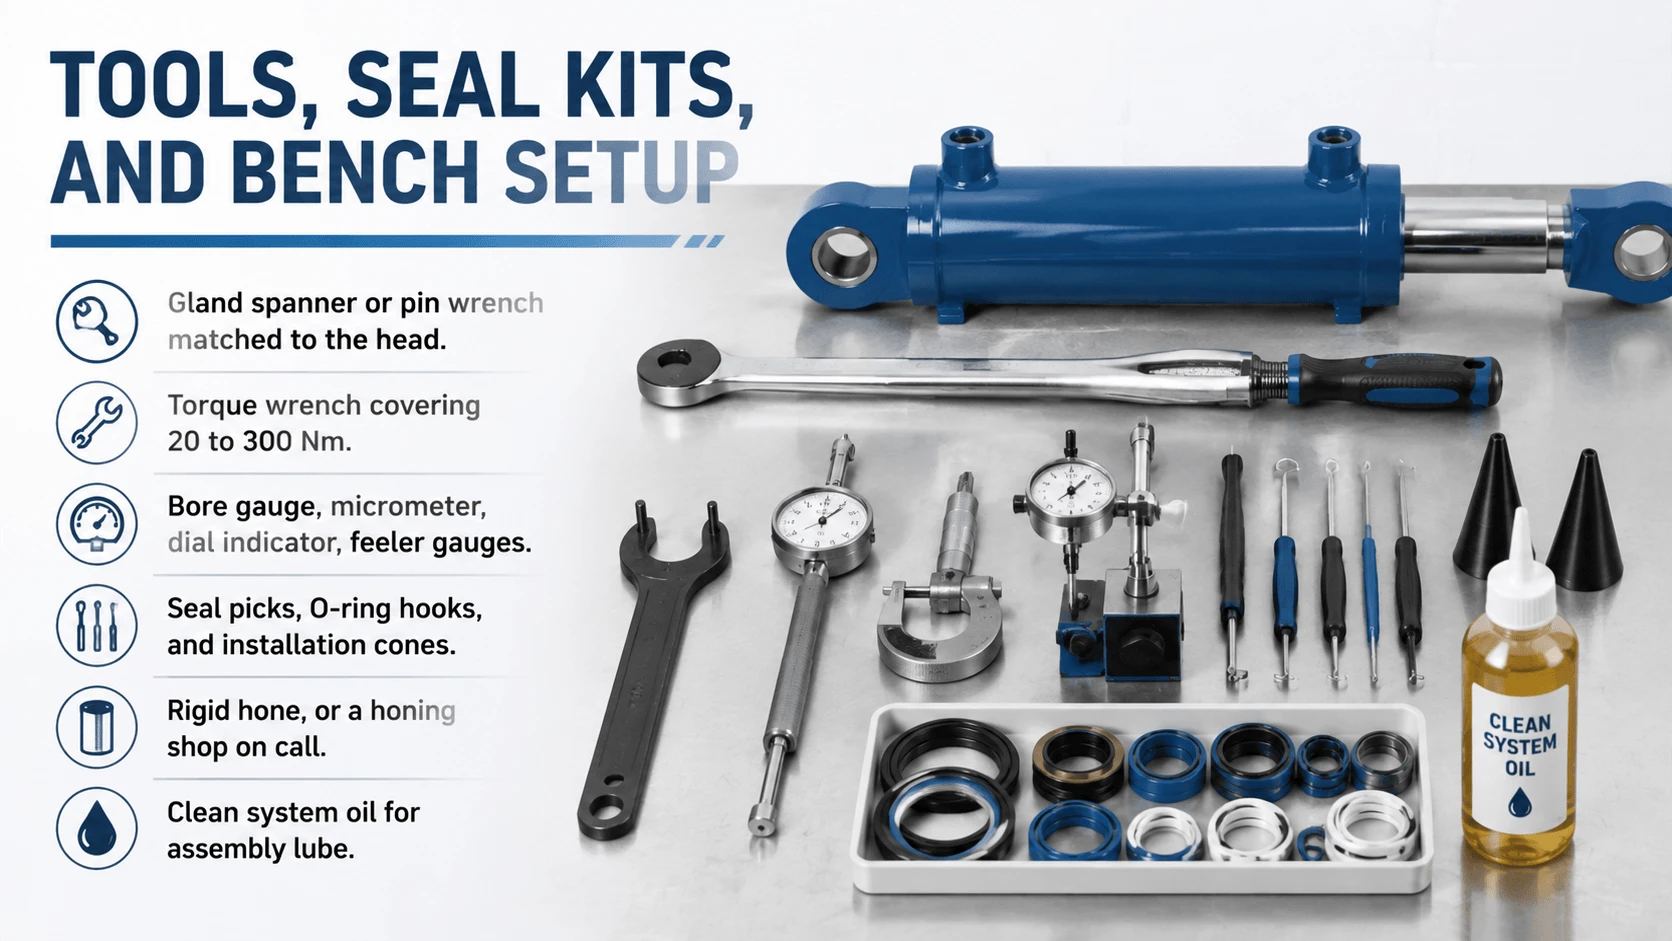
Contamination kills more rebuilds than bad parts do. Work on a clean bench with lint-free wipes. Cap every port the moment a hose comes off.
- Gland spanner or pin wrench matched to the head.
- Torque wrench covering 20 to 300 Nm.
- Bore gauge, micrometer, dial indicator, and feeler gauges.
- Seal picks, O-ring hooks, and installation cones.
- Rigid hone, or a honing shop on call.
- Clean system oil for assembly lube.
Order the seal kit by the cylinder serial number. If the plate is gone, measure bore, rod, and every groove. Match both profile and material. NBR covers most 210 bar duty up to 100°C. FKM handles heat to 200°C. Polyurethane resists extrusion at 350 bar and above.
Disassembly Step by Step
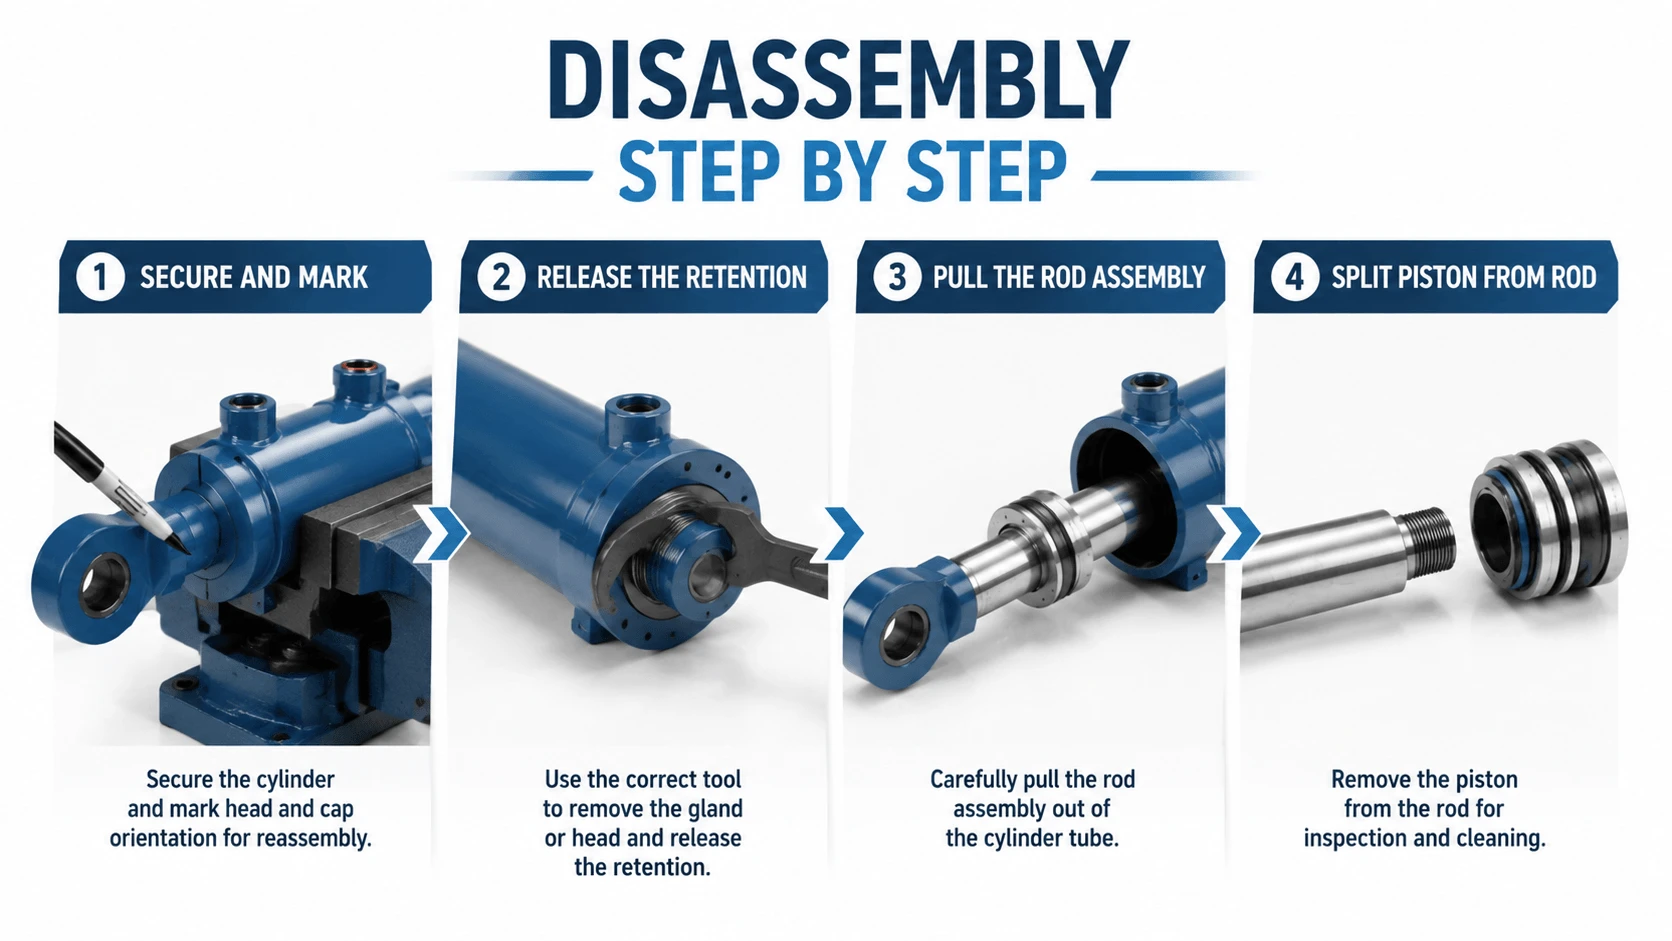
Step 1: Secure and mark
Step 2: Release the retention
Step 3: Pull the rod assembly
Step 4: Split piston from rod
Inspection and Measurement Limits
| Check | Tool | Service limit |
|---|---|---|
Barrel scoring depth |
Bore gauge, visual |
Hone if under 0.05 mm; re-tube past 0.1 mm |
Bore out-of-round |
Bore gauge, two axes |
0.05 mm |
Rod straightness |
V-blocks, dial indicator |
0.5 mm per meter |
Rod diameter loss |
Micrometer |
0.05 mm under nominal |
Chrome condition |
Visual, fingernail |
Re-chrome if pitted or flaking |
Gland bush clearance |
Bore gauge and micrometer |
0.15 to 0.25 mm, or per maker |
Piston groove width |
Caliper |
Per seal maker sheet |
Rod and Barrel Repair
Seal Replacement Rules
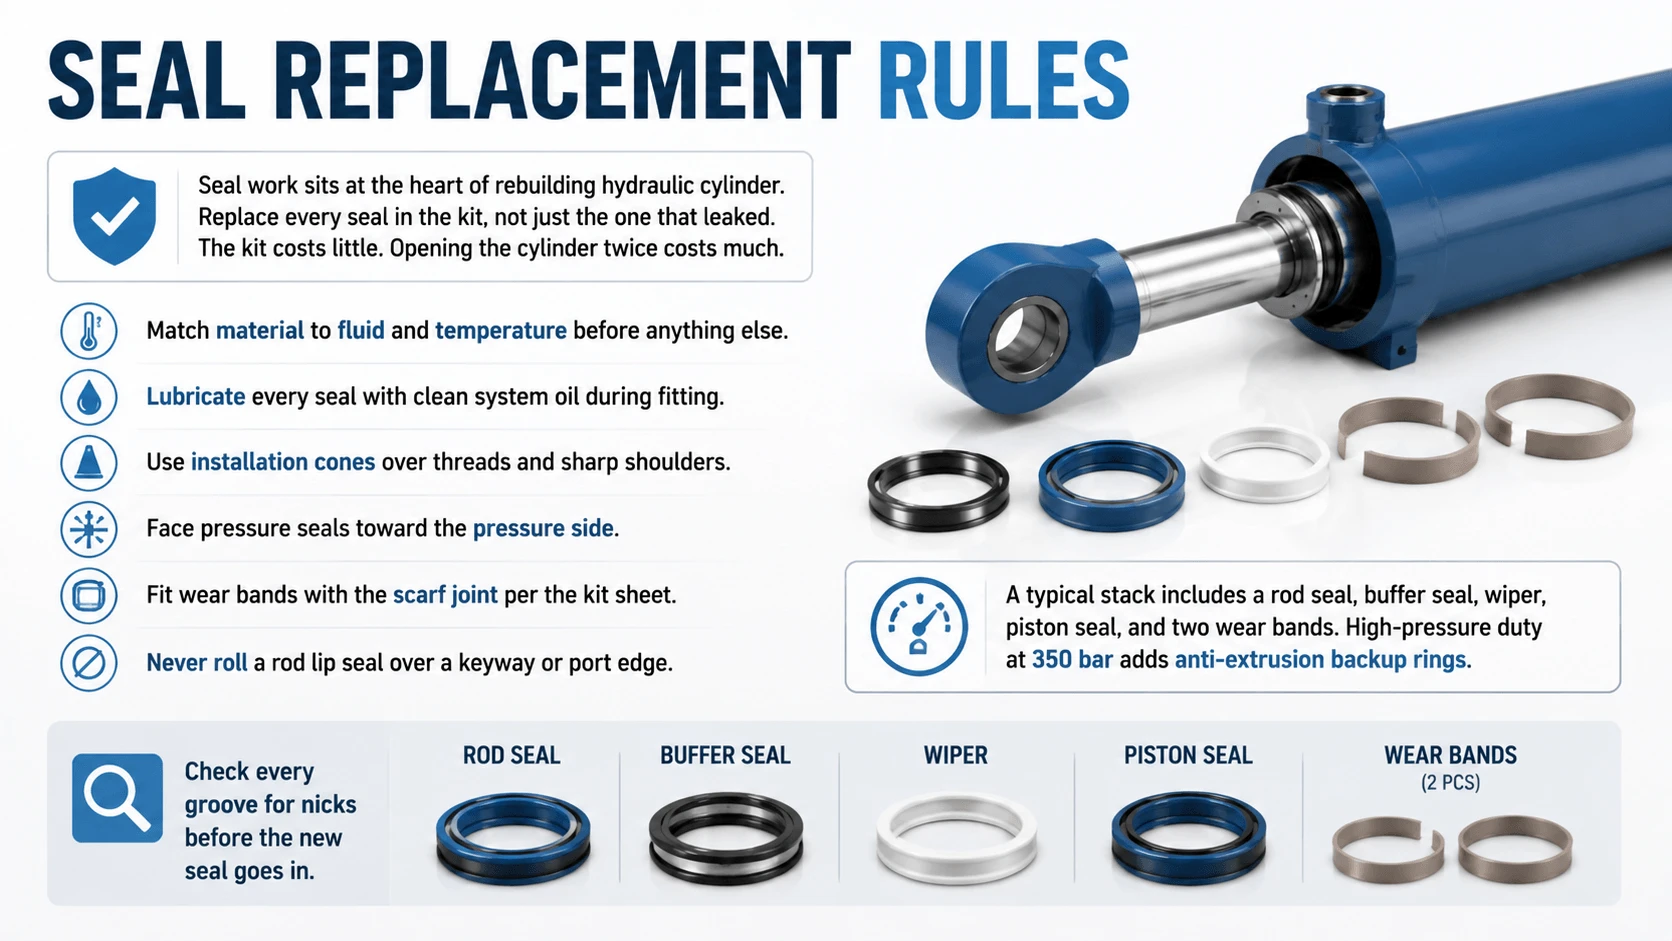
Seal work sits at the heart of rebuilding the hydraulic cylinder. Replace every seal in the kit, not just the one that leaked. The kit costs little. Opening the cylinder twice costs a lot.
- Match the material to the fluid and temperature before anything else.
- Lubricate every seal with clean system oil during fitting.
- Use installation cones over threads and sharp shoulders.
- Face pressure seals toward the pressure side.
- Fit the wear bands with the scarf joint per the kit sheet.
- Never roll a rod lip seal over a keyway or port edge.
A typical stack includes a rod seal, buffer seal, wiper, piston seal, and two wear bands. High-pressure duty at 350 bar adds anti-extrusion backup rings. Check every groove for nicks before the new seal goes in.
Reassembly and Torque
Clean again before assembly. Oil every part. Guide the piston in a square, and protect seals from cross-hole and thread edges with a sleeve or tape.
Torque tie-rod nuts in a star pattern over three passes. Use the maker’s table, not feel. Industrial tie-rod cylinders run roughly 50 to 250 Nm, depending on bore and stud size. Over-torque bows the barrel and binds the piston.
Seat threaded glands to the maker’s torque. Torque the piston nut to spec and re-stake or re-lock it. A loose piston backs off in service and destroys the cylinder from the inside.
Testing After the Rebuild
Testing closes out every rebuilding hydraulic cylinder job. Start cheap. Cycle the cylinder at 20 to 30 bar, full stroke, both directions. Bleed the air at the high points. Wipe the rod dry and watch for a fresh film.
Next, check the internal bypass. Hold a load mid-stroke for ten minutes and measure rod movement. Any visible drift points to the piston seal. Compare the result against the maker’s spec where one exists.
Finish with a proof test per ISO 10100 practice. Pressurize to 1.5 times rated pressure, hold for two to three minutes, and inspect every joint and weld. No leakage, no deformation, no noise. Test cushions at speed if the cylinder has them; the rod should decelerate without a bang.
Mistakes That Cause Repeat Failures
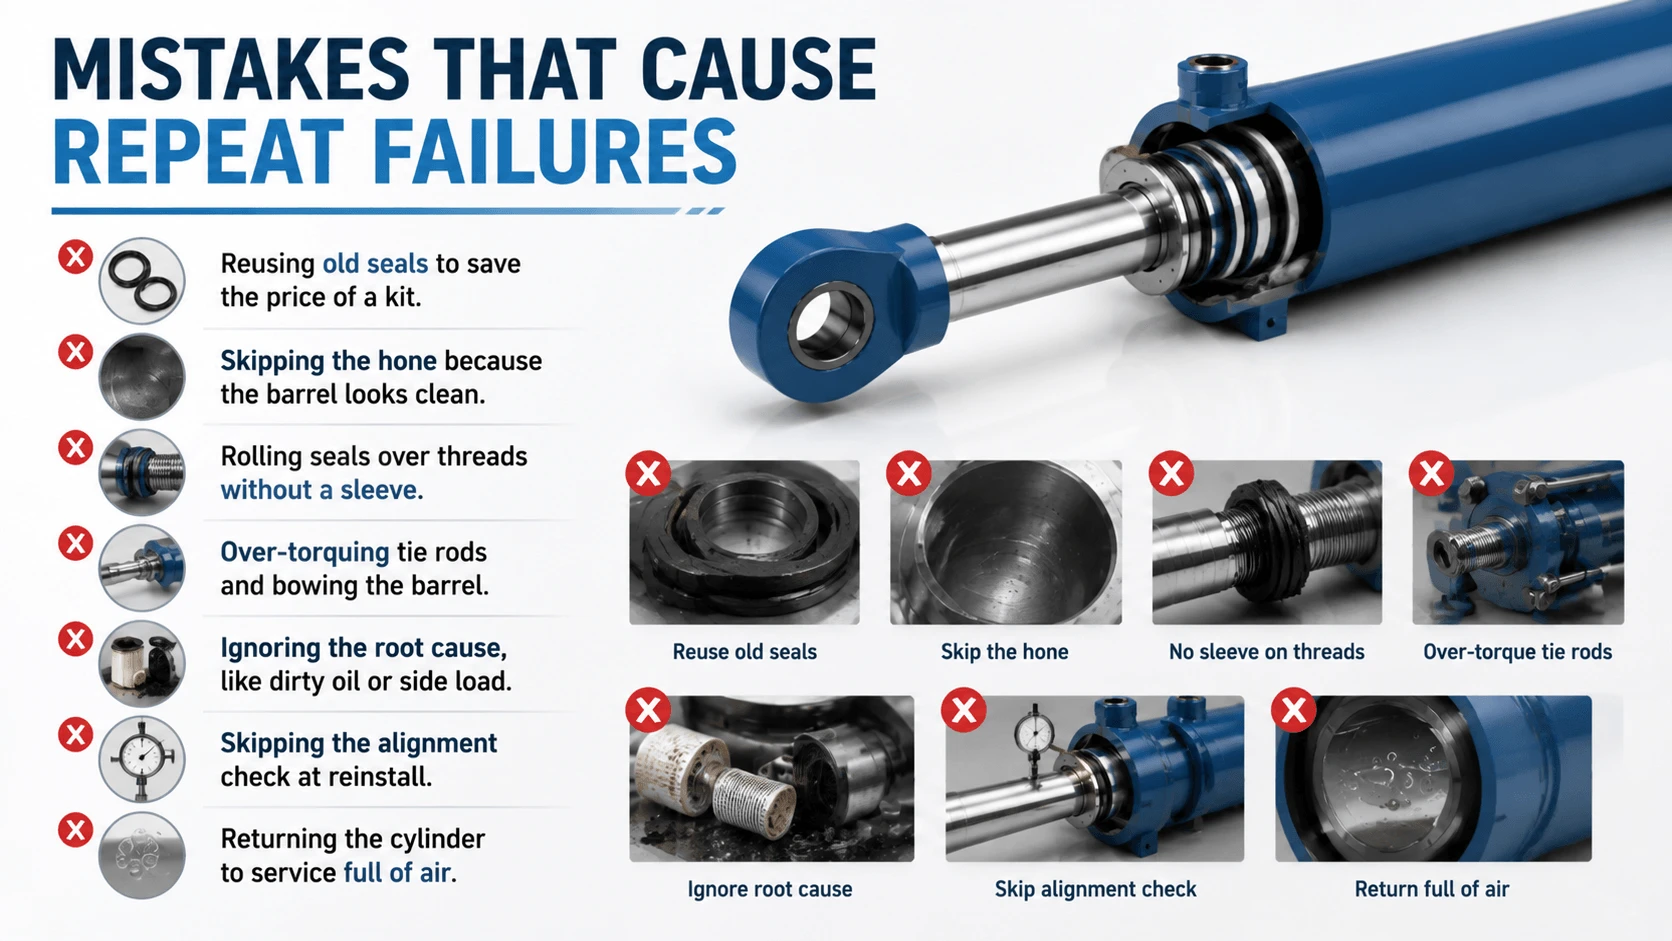
- Reusing old seals to save the price of a kit.
- Skipping the hone because the barrel looks clean.
- Rolling seals over threads without a sleeve.
- Over-torquing tie rods and bowing the barrel.
- Ignoring the root cause, like dirty oil or a side load.
- Skipping the alignment check at reinstall.
- Returning the cylinder to service full of air.
Root causes deserve their own paragraph. Dirty oil restarts wear on day one; flush and verify ISO 4406 18/16/13 or better after a contamination failure. Side load from worn pins or bad mounts eats rod seals in weeks. Check pin clearance and mount alignment before the cylinder goes back.
FAQ
How much does rebuilding hydraulic cylinder cost?
Plan on 30 to 50 percent of the new unit price for a standard rebuild. The seal kit takes 5 to 15 percent. Labor takes two to six hours. Re-chroming or re-tubing adds cost, and large bores above 200 mm often justify the extra spend.
How long does a hydraulic cylinder rebuild take?
A standard bench rebuild takes two to six hours once the seal kit is on hand. Add one to three days if the rod goes out for chrome or the barrel needs outside honing. Parts lead time usually decides the total, not the wrench time.
Is rebuilding hydraulic cylinder worth it?
Yes, when the barrel and rod stay within the limits in the measurement table. You keep a known-good core at half price or less. Skip the rebuild when cracks reach the barrel or when no seal kit exists for the sizes.
Can you rebuild a welded hydraulic cylinder?
Usually, yes. Most welded cylinders carry a threaded gland or a wire-ring head, and the internals come out from the rod side. Some low-cost welded units have no serviceable head. Those go to the bin, or to a shop that cuts and re-welds.
Why does my rebuilt cylinder still leak?
The common causes: rod finish left rough, seals nicked during fitting, or wrong seal direction. Wrong seal material and machine misalignment also repeat the leak. Air left in the cylinder can aerate the oil and fake a leak. Re-test on the bench before you strip it again.
Conclusion
A good rebuild follows one path: decide, measure, repair, seal, torque, test. The measurement table tells you whether the core parts earn a second life. The seal kit and the hone decide how long that life lasts.
Do the root-cause work too. Clean oil, straight mounts, and correct torque turn a rebuild from a monthly chore into a multi-year fix. When the numbers stop favoring repair, replace the cylinder and keep the old core for parts.